Spare Parts Finder
Manualy
Oe-No.
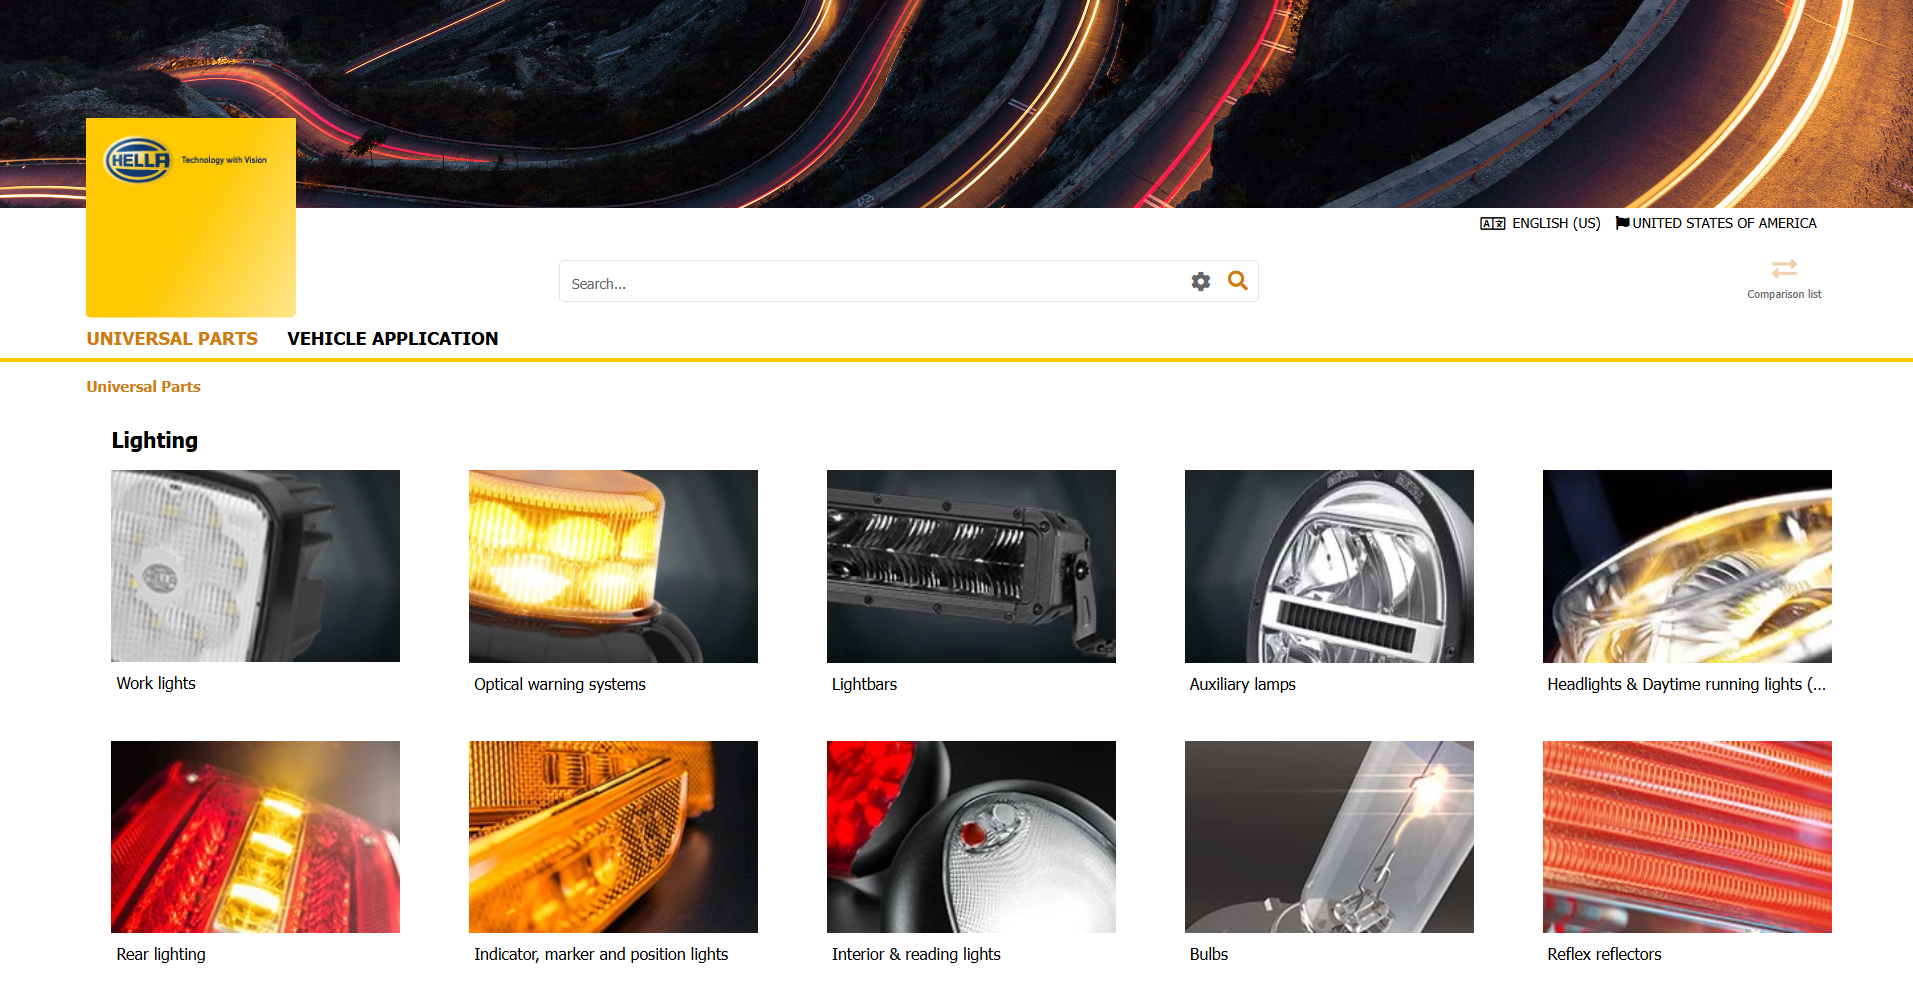
Universal Parts
Top manufacturers
Other manufacturers

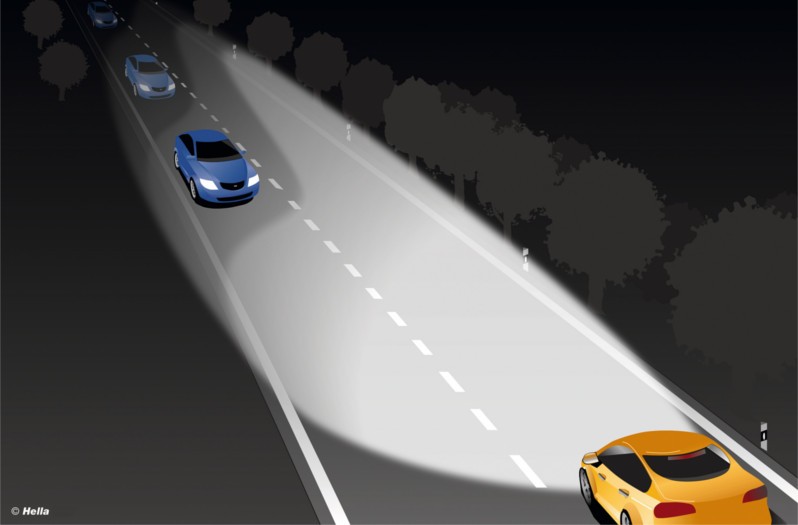
The high beam optimally lights up the road in the dark. However, this light function is only used rarely so as not to dazzle oncoming road users or vehicles in front. Camera-based high-beam assistants solve this problem. This page explains how the new lighting assistance systems work and the key aspects to bear in mind when testing and adjusting them. You will also find out what causes the blue edge in new headlamp systems.
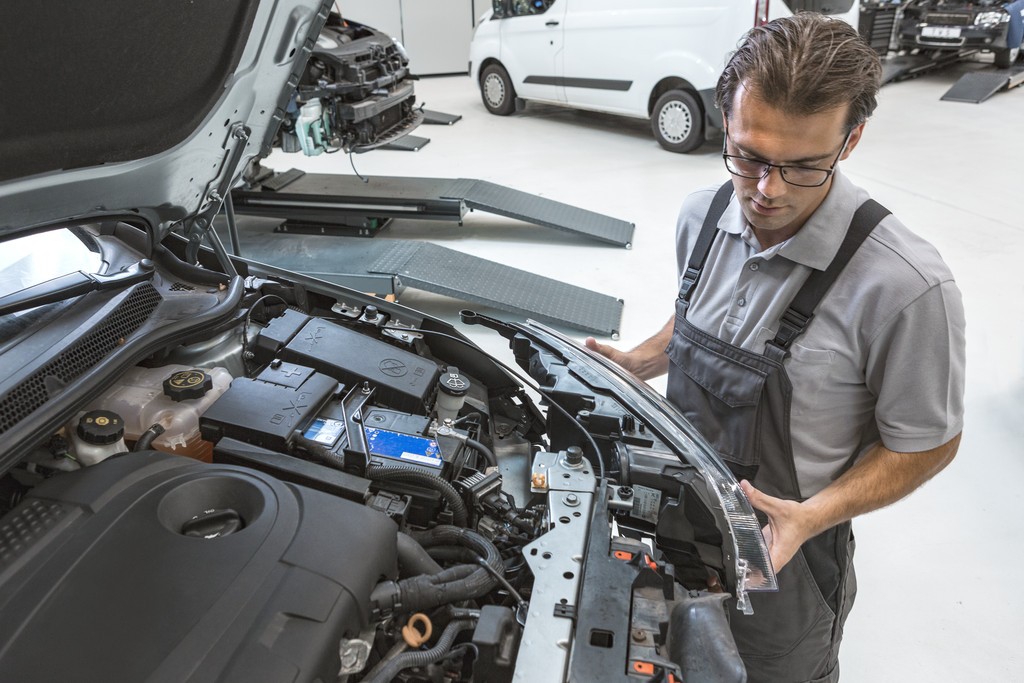
There are very different variants of maintenance work for high beams with integrated assistance systems. Depending on the manufacturer and model, classic high beam systems are adjusted together with the low beam, or separately in accordance with the manufacturer's instructions. New ultra-modern headlamp systems are adjusted in conjunction with the relevant control unit using diagnostic units.
Several important points must be observed when checking and adjusting the light distribution of modern headlamps. The adjustment can only be made correctly if the light distribution is interpreted correctly. It is therefore always extremely important for the person(s) performing the adjustment to have the necessary expertise. The specifications of the manufacturer for high beam assistance systems in particular must be observed. Compliance with the tolerances in relation to the standing surface of the vehicle and the beamsetter is also essential. Last but not least, the necessary equipment also plays a significant role as modern lighting systems can only be checked and adjusted correctly by using the diagnostic tester and a suitable beamsetter.