Spare Parts Finder
Manualy
Oe-No.
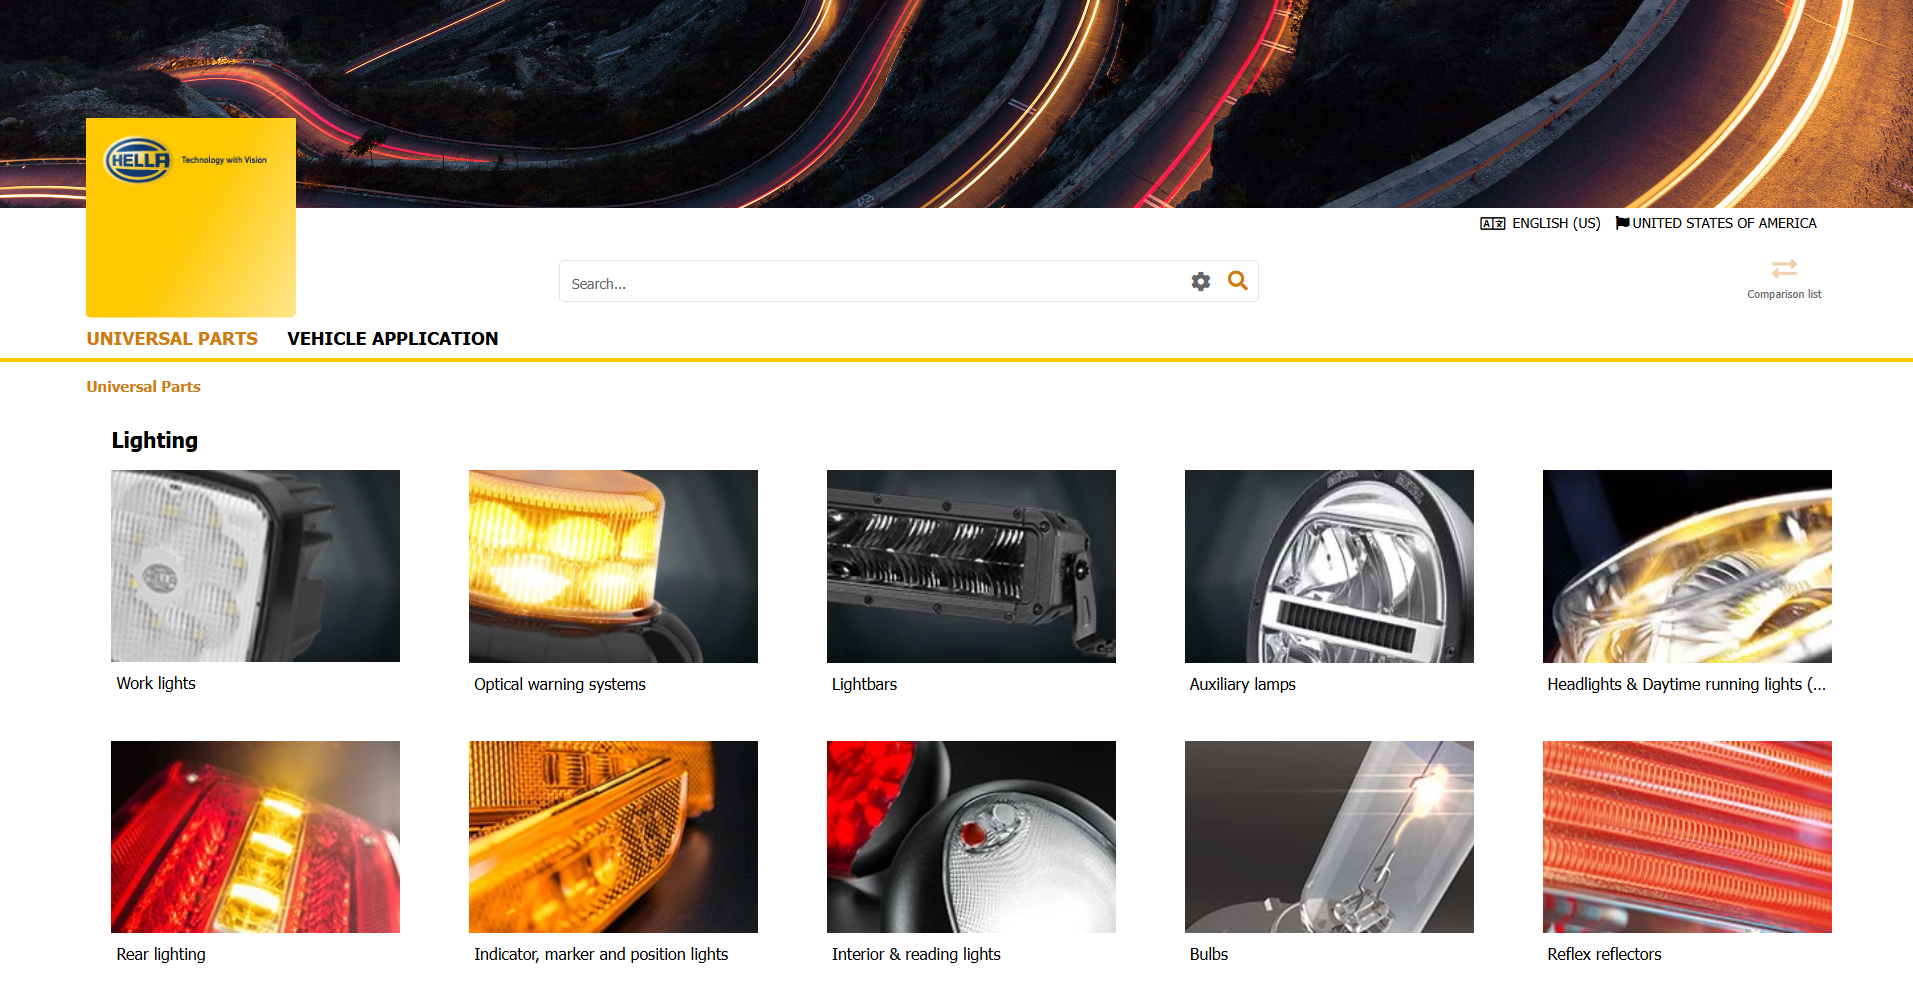
Universal Parts
Top manufacturers
Other manufacturers
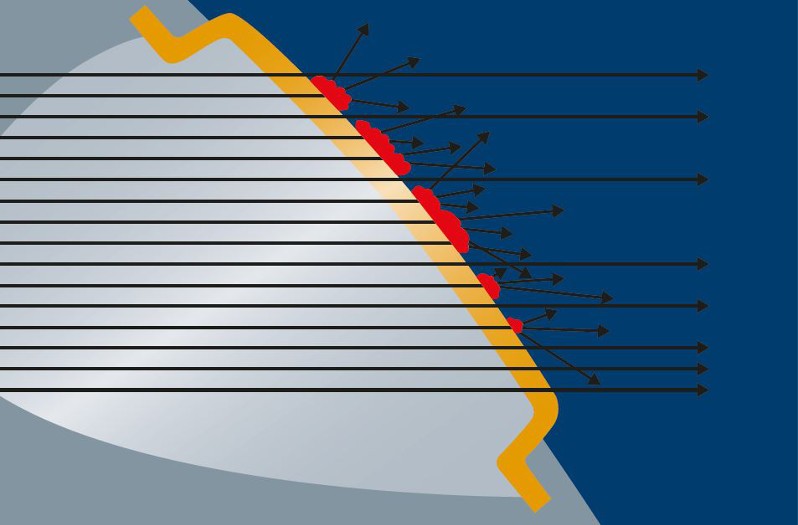
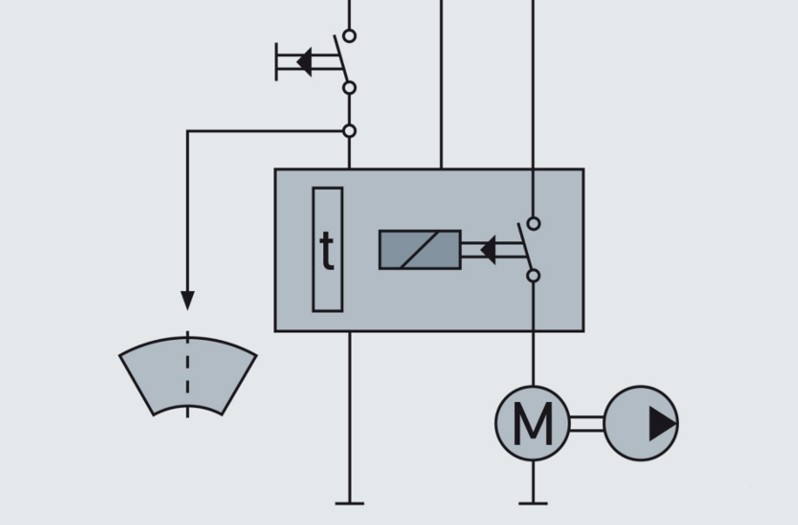
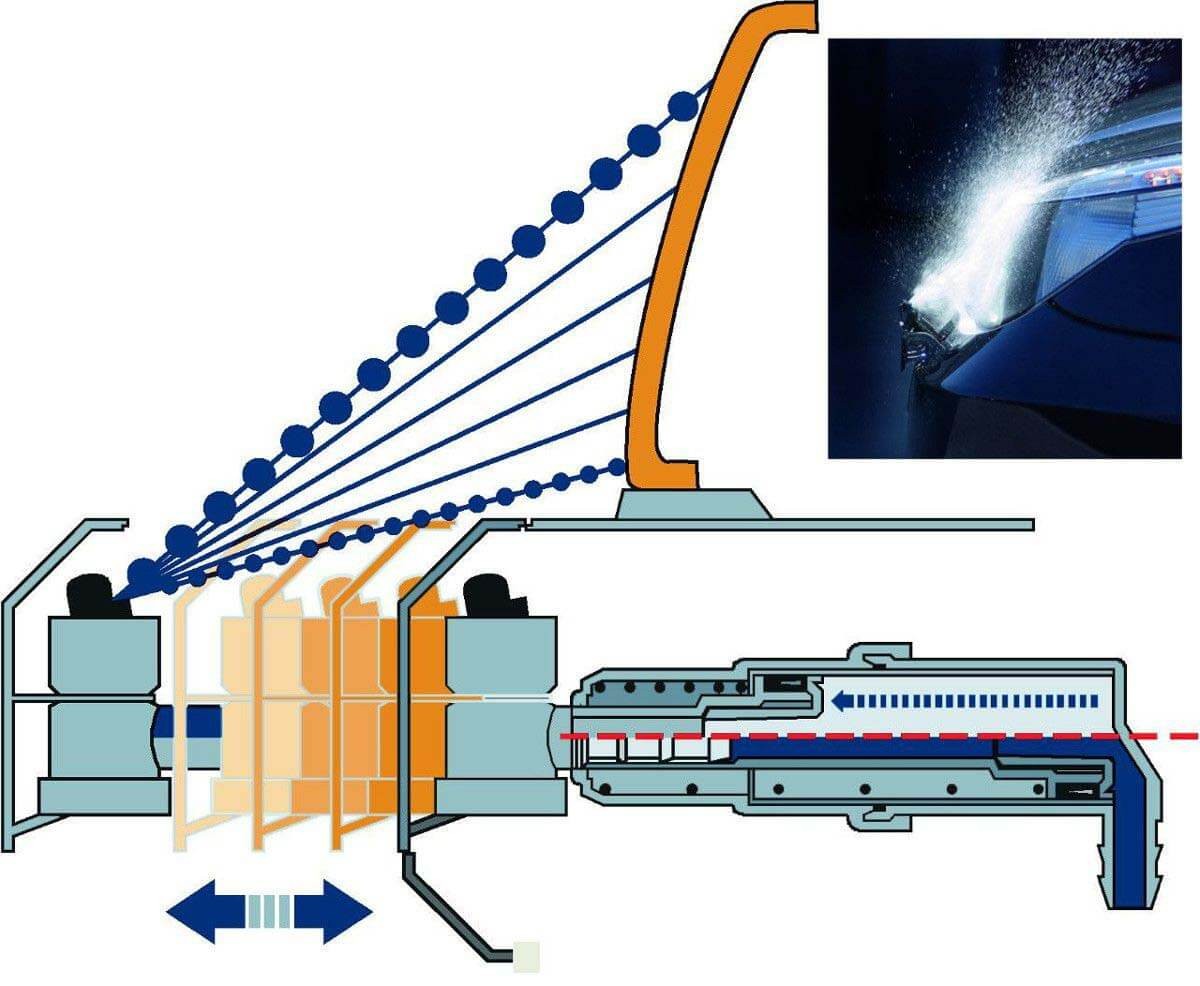
Headlamp cleaning systems improve visibility in the dark and prevent dazzling of oncoming traffic through stray light. On this page, find out about the structure of headlamp cleaning systems and how they work. You can also find useful tips here on using these safety systems along with information on troubleshooting in the event of malfunction.