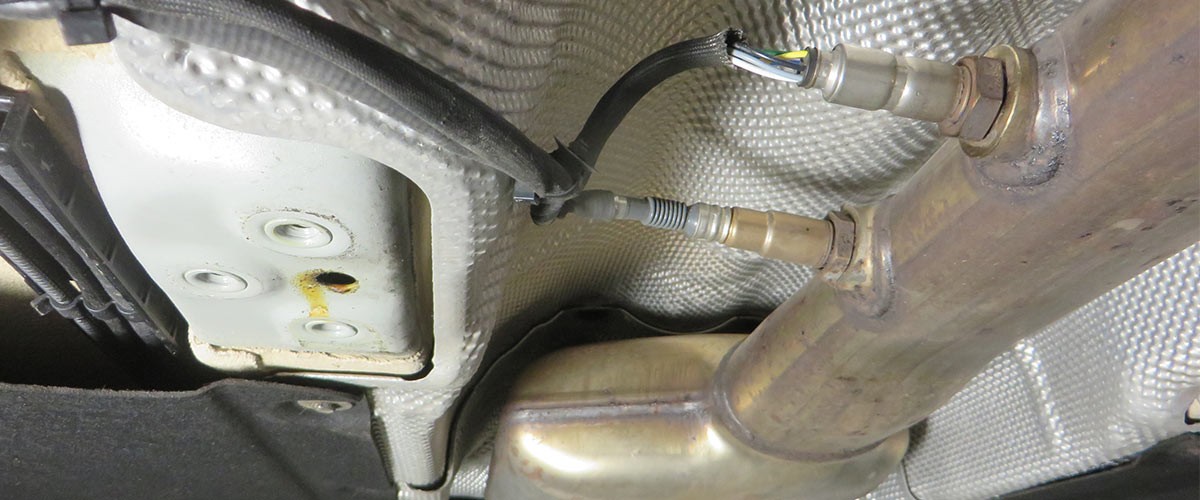
Checking the connection line
Check the connection line from the control unit to the sensor using the ohmmeter. Remove the connector from the control unit and remove the sensor, check the individual cables for continuity. A circuit diagram is required for the pin assignment. Reference value: approx. 0 Ohm.