Function and assembly of the alternator freewheel clutch
Important safety note
The following technical information and practical tips have been compiled by HELLA in order to provide professional support to vehicle workshops in their work. The information provided on this website is intended for use by suitably qualified personnel only.
During an engine's combustion cycle, the rotary movement of the crankshaft is sped up and slowed down This rotational irregularity is transferred to the accessory drive as a result of the alternator's moment of inertia As a result, extreme forces and high torque fluctuations act on the belt drive
2. Function
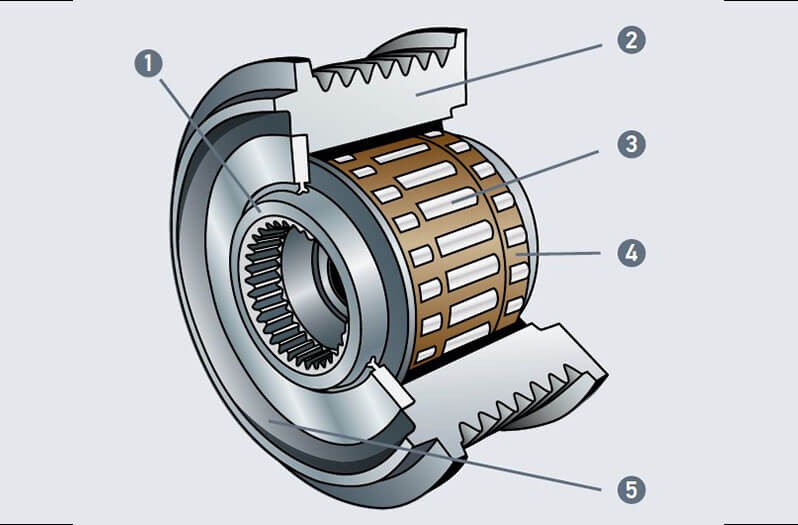
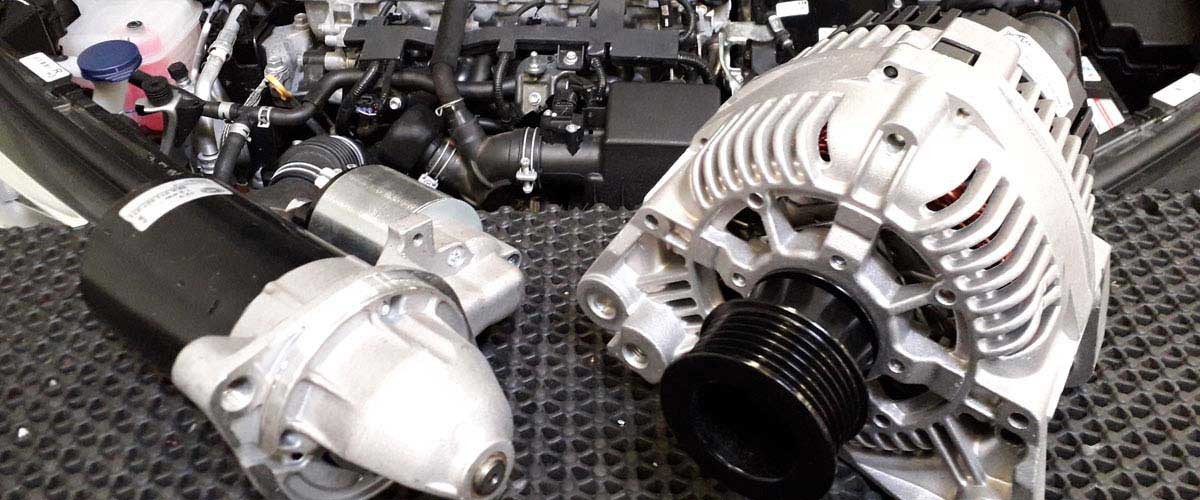
Function and structure of the alternator freewheel clutch
(1) Inner ring with serration, (2) Outer ring with profiled raceway, (3) Freewheel unit, (4) Radial support bearing, (5) Overrunning alternator pulley
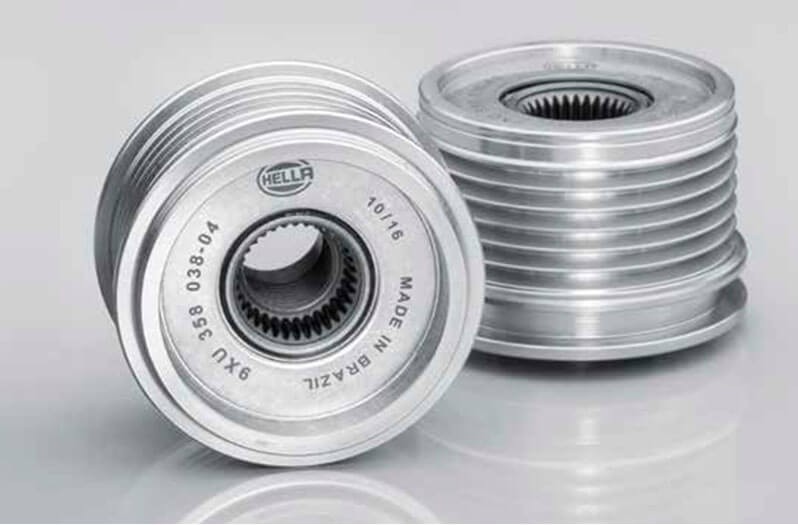
The overrunning alternator pulley, or alternator freewheel clutch, is mounted directly on the drive shaft of the alternator instead of the rigid pulley and has the task of decoupling the three-phase alternator from the rotational irregularities of the crankshaft. This reduces the influence of the moment of inertia on the alternator and the load on the belt drive.
The overrunning alternator pulley is structured as follows:
1.Inner race with serration 2.Outer race with profiled raceway 3.Freewheel unit 4.Radial support bearings 5.Overrunning alternator pulley
3. Benefits
Advantages of the alternator freewheel clutch
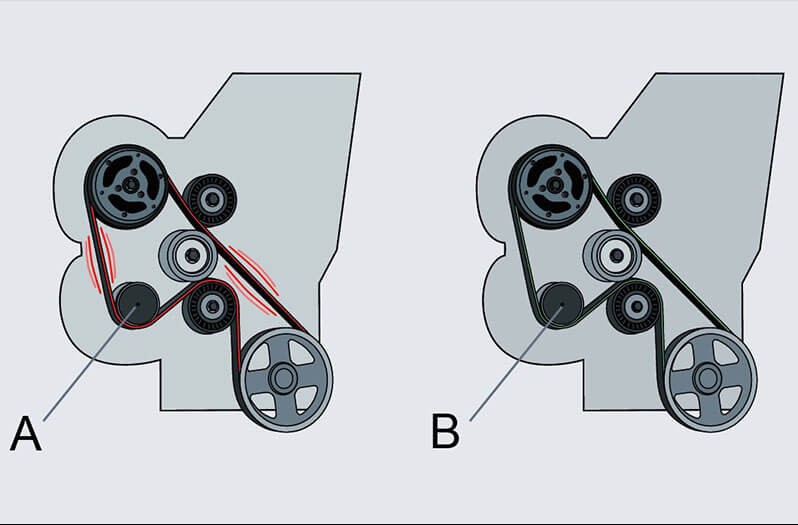
(A) Accessory drive with rigid pulley: Severe vibrations and resultant thrashing noise from the drive belt; (B) Accessory drive with alternator freewheel clutch: Reduction in belt vibrations
By mounting an overrunning alternator pulley, only the driving force of one direction of rotation is transmitted to the alternator, thus reducing friction and wear.
Advantages of an overrunning alternator pulley:
Reduced impact on the belt drive
Reduced fuel consumption
Longer lifetime for all components
Greater driving comfort and improved noise levels
Higher alternator idle speed
Effects with and without overrunning alternator pulley:
Accessory drive with rigid pulley (A): Severe vibrations and resultant thrashing noise from the drive belt
Accessory drive with alternator freewheel clutch (B): Reduction in belt vibrations
4. Mounting instructions
Installation instructions for alternator freewheel clutch
Article numbers: 9XU 358 038-xxx and 9XU 358 039-xxx
We recommend the following procedure:
Switch off engine
Remove ignition key
Remove the V-ribbed belts
Remove the cover cap on the alternator freewheel clutch
Fix the overrunning alternator pulley in place
Insert installation tool
Rotate installation tool
Loosen and remove the alternator freewheel clutch
Mount and tighten the new alternator freewheel clutch (tightening torque 80 +/- 5 Nm)
Fit cover cap and V-ribbed belts
Perform functional check
Important!
Refer to the removal and installation instructions from the relevant vehicle manufacturer.
Installation may only be carried out by a qualified specialist
Note tightening torque
Do not use pneumatic tools
How helpful is this article for you?
Not helpful at all
5
4
3
2
1
Very helpful
Success
Sign up for our free HELLA TECH WORLD newsletter to receive the latest technical videos, car repair advice, training course information, marketing campaign details and diagnostic tips.