Function and assembly of the alternator freewheel clutch
Important safety note
The following technical information and practical tips have been compiled by HELLA in order to provide professional support to vehicle workshops in their work. The information provided on this website is intended for use by suitably qualified personnel only.
Table of Content
- 1. Basics
- 2. Function
- 3. Benefits
- 4. Mounting instructions
Table of Content
1. Basics
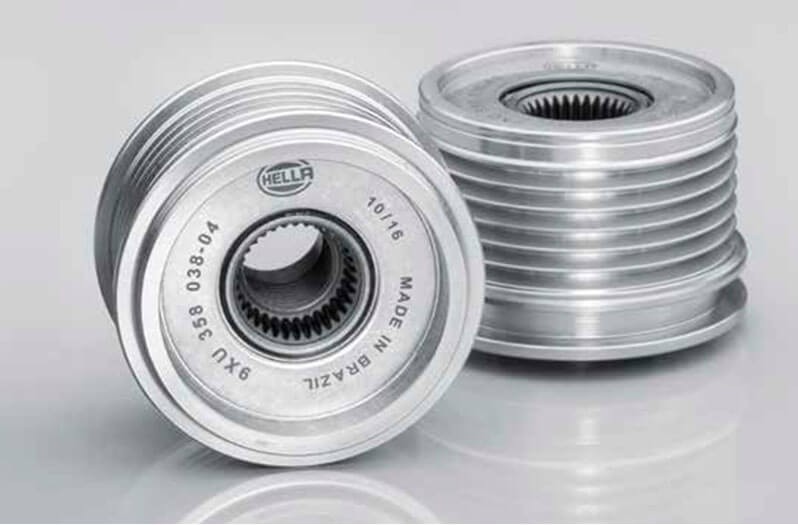
Overrunning belt pulleys on alternators
2. Function
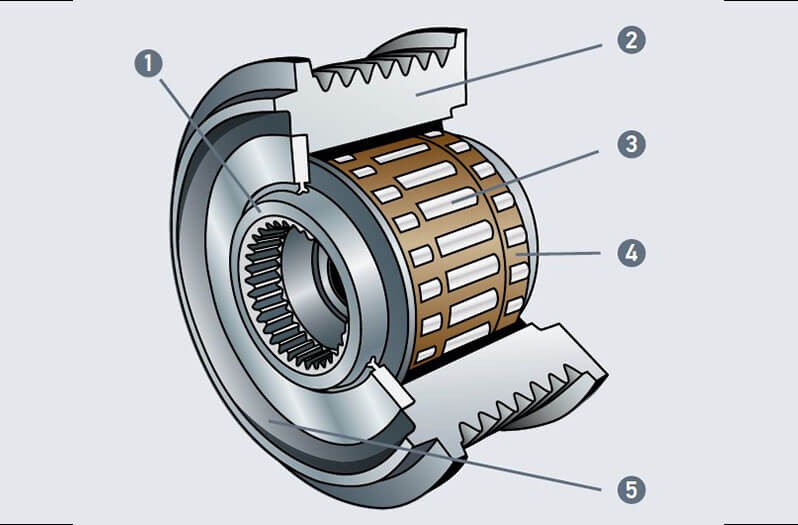
Function and structure of the alternator freewheel clutch
3. Benefits
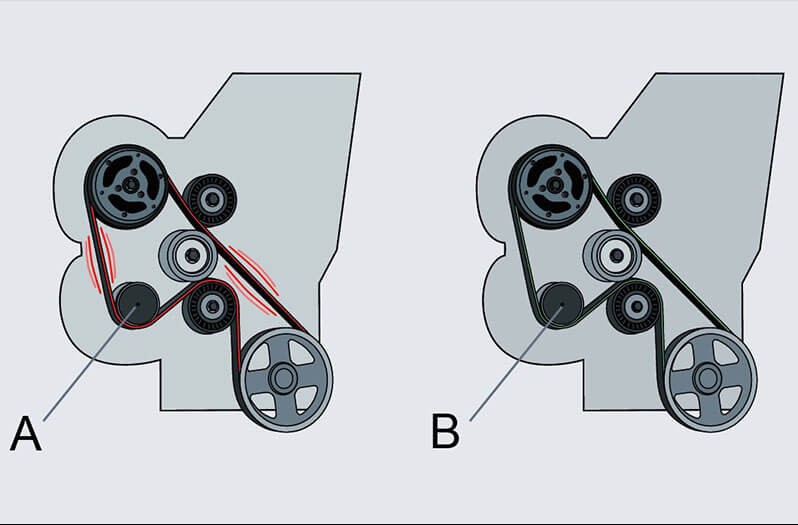
Advantages of the alternator freewheel clutch
4. Mounting instructions
Installation instructions for alternator freewheel clutch
Important!
Refer to the removal and installation instructions from the relevant
vehicle manufacturer.
vehicle manufacturer.
- Installation may only be carried out by a qualified specialist
- Note tightening torque
- Do not use pneumatic tools
How helpful is this article for you?
Not helpful at all
Very helpful
5
4
3
2
1
Success
Sign up for our free HELLA TECH WORLD newsletter to receive the latest technical videos, car repair advice, training course information, marketing campaign details and diagnostic tips.
Success
Success
Success
Success
Success
Success
Success
Success
Error
Error
Please tell us what you did not like.
Success
Thank you for your feedback!
Wrong Captcha
Wrong Captcha
Error
Something went wrong
You might also be interested in
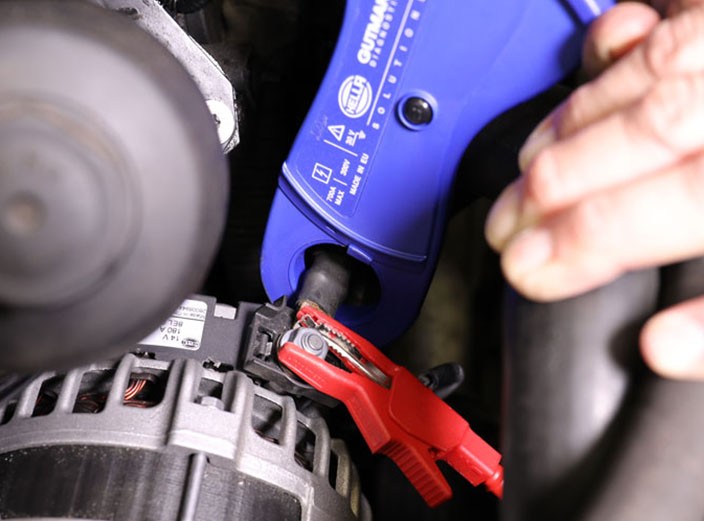
Basic Knowledge
Service work on the charging system
Step-by-step instructions for servicing the charging system, including visual inspection and signal testing on the controller.
Reading time: 6 minutes
Basic Knowledge
NOx-Sensor - Mercedes Benz
If a fault is diagnosed in the NOx sensor when troubleshooting an exhaust gas purification system, this can present a small challenge for a workshop.
Reading time: 7 minutes
Basic Knowledge
Checking the starter - Causes of failure, troubleshooting
Everything you need to know about typical starter motor faults and how to rectify them - with instructions for testing and repair.
Reading time: 9 minutes
Basic Knowledge
Checking the alternator
Detailed solutions for problems with the alternator - from testing to troubleshooting, everything for your vehicle workshop.
Reading time: 8 minutes
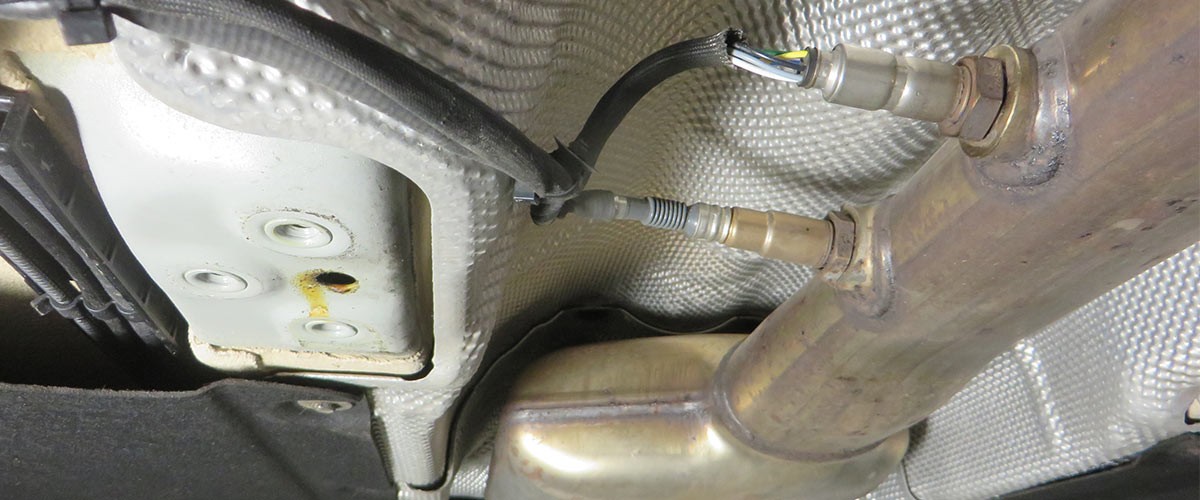
Basic Knowledge
NOx sensor - troubleshooting and repair instructions
Everything about the NOx sensor: how it works, typical causes of failure, symptoms and fault diagnosis with the control unit.
Reading time: 8 minutes
Basic Knowledge
Checking an alternator regulator
Function and design of the overrunning alternator pulley explained - including installation instructions for the overrunning alternator pulley on the alternator.
Reading time: 12 minutes

Basic Knowledge
Adaptive Cruise Control - adjusting sensor
How to set the ACC radar sensor correctly - with step-by-step instructions and valuable practical tips for the garage.
Reading time: 4 minutes

Basic Knowledge
Keyless Go & Keyless Entry system
Introduction to the Keyless Go system - from function and possible faults to diagnostics, ideal for vehicle workshops.
Reading time: 12 minutes
Basic Knowledge
Car knock sensor - function & troubleshooting
Find out how to check the knock sensor for malfunctions and rectify possible fault symptoms.
Reading time: 2 minutes
Basic Knowledge
Crankshaft sensor - check & defective
Find out how to check the crankshaft sensor, identify defective sensors and replace them.
Reading time: 3 minutes

