Installation of stop light switches with automatic adjuster
| Data sheet | |
|---|---|
| Spare part | Stop light switch |
| Part numbers | 6DD 008 622-731 |
| Vehicles | Audi, Porsche, Seat, Skoda, Volkswagen |
Important safety note
Technical information and practical tips have been compiled by HELLA in order to provide professional support to vehicle workshops in their work. The information provided on this website is intended for use by suitably qualified personnel only.
Procedure for replacing the stop light switch
The stop light switch is equipped with an integrated mechanical adjustment device and must therefore not be operated before installation (Fig. 2)! An electrical test is only possible after installation in the vehicle pedals has been completed.
Removal (Fig. 3):
- Switch off the ignition
- Disconnect the electrical plug connection by pressing down the locking device on the connector housing
- Turn the stop light switch anticlockwise by 45° to the left and pull it out of the mounting hole
Installation (Fig. 4):
the brake pedal must not be operated during the installation process!
- Before installing, slightly coat the plunger head (tip) of the switch with a suitable grease
- Carefully insert the new stop light switch into the mounting hole until the plunger head rests against the brake pedal
- Then using a slight amount of pressure, press the stop light switch in and turn it 45 degrees to the right. The positioning is correct when it is heard clicking into place.
- Finally reconnect the electrical connection
Depending on the vehicle model, it may be necessary to read out the error memory of the higher-level control unit and to delete any errors stored before the functional test of the stop light switch is carried out.
Perform functional check
- Switch on the ignition and check the function of the stop light on the rear lamps by depressing the brake pedal several times.
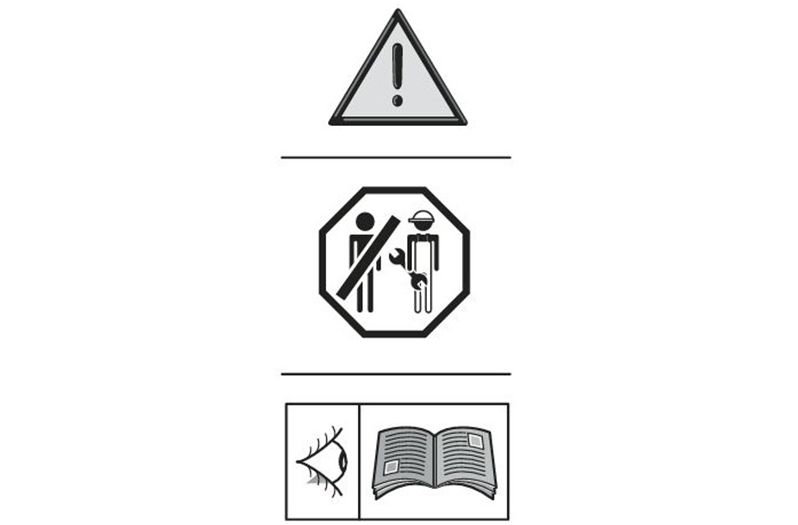
Always observe the installation instructions! (Fig. 5)
Installation should only be carried out by trained, qualified personnel.
Before installation, ensure that the product is suitable for the intended application and that it has the required dimensions, connections, and properties.
Please always observe the relevant installation and removal instructions provided by the vehicle manufacturer!
HELLA accepts no liability for damage caused by improper handling or incorrect installation of the product!
Reprinting, distribution, reproduction, exploitation in any form or disclosure of the contents of this document, even in part, is prohibited without our express, written approval; indication of the document source is also required. The schematic illustrations, pictures and descriptions serve only for the purposes of explanation and representation of the instructions and cannot be used as a basis for installation or assembly work. All rights reserved.
Not helpful at all
Very helpful


